
Moving out of a rental property can be stressful, especially when it comes to getting your security deposit back. One of the most critical steps in this process is end of lease cleaning. A thorough cleaning ensures that the property is returned in the same condition as when you moved in, helping you avoid disputes with your landlord or property manager.
In this comprehensive guide, we’ll cover everything you need to know about end of lease cleaning, including why it’s important, what it entails, and whether you should DIY or hire professionals.
Why Is End of Lease Cleaning Important?
Landlords and property managers expect rental properties to be returned in pristine condition. A well-executed end of lease cleaning can make the difference between getting your full deposit back or losing a portion (or all) of it due to cleaning deductions.
Here’s why it’s crucial:
- Security Deposit Refund – Most lease agreements require tenants to return the property in a clean state. Failure to do so may result in deductions from your deposit.
- Professional Standards – Landlords often compare the property’s condition to a professional cleaning checklist. A deep clean ensures you meet these standards.
- Avoid Disputes – A clean property reduces the chances of disagreements between you and the landlord over damages or cleanliness.
- Better Rental References – A well-maintained property can lead to positive references, making it easier to secure future rentals.
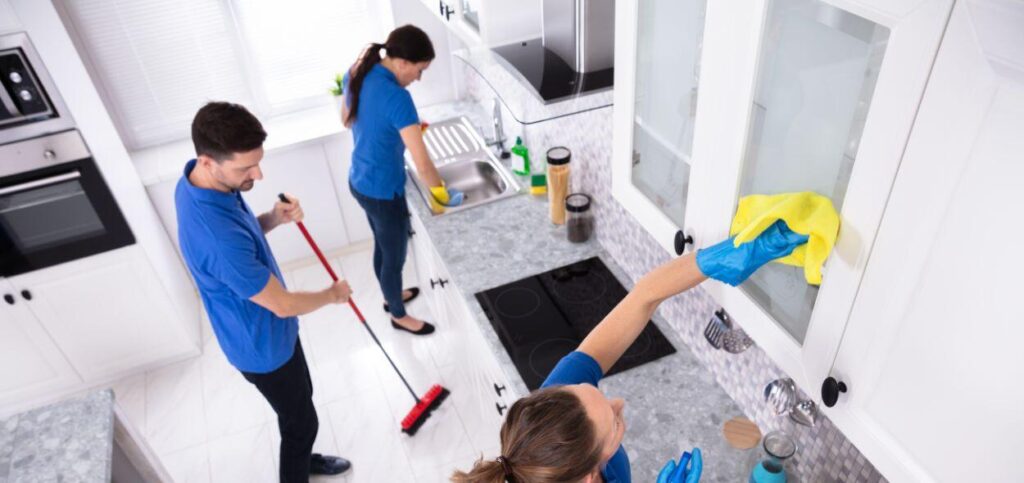
What Does End of Lease Cleaning Include?
A thorough it covers every part of the property. Here’s a detailed checklist:
1. Kitchen Cleaning
- Degrease and wipe down all cabinets, inside and out.
- Clean the oven, stovetop, and range hood thoroughly.
- Scrub the sink and polish faucets.
- Remove limescale and stains from tiles and backsplash.
- Clean the refrigerator (inside and out), including defrosting if necessary.
- Mop and disinfect floors.
2. Bathroom Cleaning
- Scrub the shower, bathtub, and tiles to remove soap scum and mold.
- Clean and disinfect the toilet, sink, and vanity.
- Polish mirrors and glass surfaces.
- Remove water stains from taps and showerheads.
- Wash or replace shower curtains.
- Sweep and mop floors.
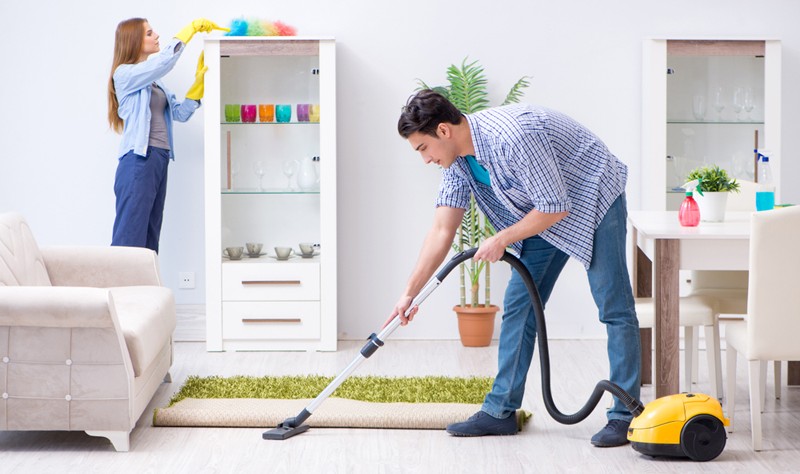
3. Living Areas & Bedrooms
- Dust and wipe all surfaces, including shelves, skirting boards, and light fixtures.
- Vacuum and steam clean carpets (or arrange professional carpet cleaning if required).
- Clean windows (inside and out), including tracks and sills.
- Remove cobwebs from corners and ceilings.
- Wipe down doors and handles.
4. Laundry & Storage Areas
- Clean the washing machine (run an empty cycle with vinegar or a washing machine cleaner).
- Wipe down dryer lint filters and surfaces.
- Sweep and mop floors.
- Dust and clean cupboards and shelves.
5. Outdoor Areas (If Applicable)
- Sweep patios, balconies, and entryways.
- Remove cobwebs from exterior walls and windows.
- Clean garbage bins and ensure they’re empty.
DIY vs. Professional End of Lease Cleaning
DIY Cleaning
If you have the time and energy, you can handle end of lease cleaning yourself. Here are some pros and cons:
Pros:
- Saves money compared to hiring professionals.
- You can clean at your own pace (as long as you meet the lease deadline).
Cons:
- Time-consuming and physically demanding.
- May not meet professional standards, risking deposit deductions.
- Requires purchasing cleaning supplies and equipment.
Hiring Professional Cleaners
Many tenants opt for professional end of lease cleaning services for guaranteed results.
Pros:
- High-quality cleaning that meets landlord expectations.
- Saves time and effort.
- Often comes with a satisfaction guarantee or re-cleaning policy.
- Some companies provide receipts for landlords as proof of cleaning.
Cons:
- More expensive than DIY.
- Requires research to find a reputable service.
Tips for a Successful End of Lease Cleaning
- Start Early – Don’t leave cleaning until the last day. Begin a few days before moving out.
- Follow a Checklist – Use a detailed cleaning list to ensure no area is missed.
- Take Before & After Photos – Document the property’s condition as proof.
- Check Lease Agreement – Some landlords require professional cleaning, so verify the terms.
- Communicate with the Landlord – Confirm expectations and arrange a final inspection.
Conclusion
End of lease cleaning is a crucial step in securing your full deposit refund and maintaining a good rental history. Whether you choose to DIY or hire professionals, ensuring a thorough clean will help you avoid disputes and leave the property in top condition.
By following this guide, you can approach your move-out cleaning with confidence, knowing you’ve covered all the essential areas.
FAQs About End of Lease Cleaning
1. Is end of lease cleaning mandatory?
Most lease agreements require tenants to return the property in a clean condition. Failure to do so may result in deductions from your security deposit.
2. Can I do the end of lease cleaning myself?
Yes, you can DIY, but it must meet professional standards. If unsure, hiring a professional cleaner is recommended.
3. How much does professional end of lease cleaning cost?
Prices vary based on property size and location, but expect to pay between $200-$500 for a standard apartment.
4. What if my landlord is not satisfied with the cleaning?
If you hired professionals, check if they offer a re-cleaning guarantee. If you cleaned yourself, you may need to touch up missed areas.
5. Does end of lease cleaning include carpet cleaning?
Some landlords require professional carpet cleaning. Check your lease agreement—many cleaning companies offer it as an add-on service.
By addressing these common questions, you can ensure a smooth and stress-free move-out process. Happy cleaning!
